
North Richland Hills Wood Flooring has handled hardwood floor repair across North Richland Hills, TX for more than 20 years, serving surrounding cities including Watauga, Hurst, Haltom City, Colleyville and Bedford. Repair is the first of our three options, not the last resort, because it is the cheapest one that ever works and because a floor with fifty good years left does not need replacing to fix six bad boards.
We price repair, refinish and replace in that order and name the cheaper one first whenever it is genuinely the right answer. That means telling you when a weave-in and a recoat solve the problem, and telling you just as plainly when the damage runs past what a patch can reach. Both answers come from the same visit: metering the boards and the subfloor, sounding the field for debonded areas, and reading how much wood is left above the tongue.
The part that gets skipped elsewhere is finding out why the floor failed. A repaired board over an unchanged cause fails a second time, which is why we look for the slab leak, the flatness problem, the bond failure or the moisture path before quoting anything. Where another trade owns the cause — plumbing, foundation, pest control — we sequence our work behind theirs rather than in front of it.
Repairs That Save the Floor You Have
Board Replacement and Weave-Ins
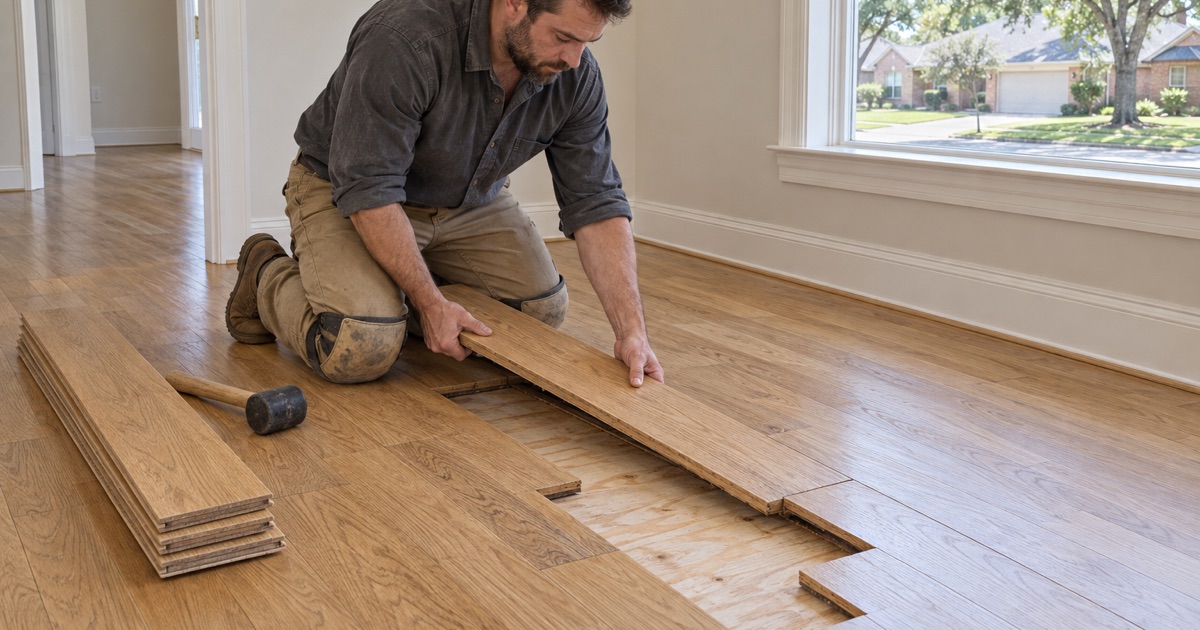
Swapping whole boards is clean where the damage follows a run. A weave-in goes further: new boards are let into the existing field so the end joints stagger naturally instead of forming a visible rectangle. Lacing costs more labor and vanishes into a site-finished floor once the field is sanded as one surface, which is usually worth paying for in a room people look at.
Dutchman Patches and Single-Plank Repairs
A dutchman is a piece let into an opening cut inside one plank, used for a burn, a gouge or a drilled hole where pulling the whole board would disturb its neighbors for no reason. It is faster and cheaper than lacing. It also stays readable as a rectangle under raking light, and we say that before you choose it rather than after you notice it.
Parquet Block Lifting and Reset
Parquet fails block by block as the adhesive lets go, and the pattern makes a partial repair far more visible than it would be on strip flooring. We lift the loose blocks, scrape the substrate back to a bondable surface and reset with matched parquet block where salvage is realistic. Where the field is too far gone to reset into, we say so instead of installing into the same failure.
Movement, Squeaks and Hollow Spots
Cupping, Crowning and Buckling
Cupping raises the board edges above the center and means moisture is reaching the underside. Crowning is the inverse profile and usually means a cupped floor was sanded flat before it had dried. Buckling is a floor that has lifted off the subfloor entirely. We meter the wood and the subfloor and find the water source first, because sanding a wet floor flat creates the next problem.
Squeaks, Loose Fasteners and Subfloor Movement
Squeaks are always movement, and the repair depends on which joint is moving. A loose cleat, a joist that shrank away from the subfloor, or a floating floor riding on a high spot each need a different fix, and two of the three are reachable from below where there is crawl access. We locate the source before opening the floor so the repair stays the size of the problem.
Hollow Planks and Adhesive Bond Failure
A glue-down plank that sounds hollow has lost its bond line. We sound out the whole field and map the debonded area, which is reliably larger than what you noticed walking on it, then establish the cause — slab moisture, burnished or contaminated concrete, adhesive that skinned before the board landed, or a slab that was never brought into flatness tolerance. The repair follows the cause, not the symptom.
Damage the Floor Did Not Cause
Slab Leaks Under a Wood Floor
A warm patch underfoot on a floor over a slab is a hot water line leaking below it. The floor is reporting the problem, not creating it. We document the location and the moisture readings and then stop, because replacing over an active leak means buying the material twice. Once the plumbing repair passes its test we dry the slab, verify it and rebuild the affected area.
Termite and Powderpost Beetle Damage
Powderpost beetles leave small round exit holes and fine frass beneath the boards; termites leave galleries following the grain and a hollow, wrong sound underfoot. The insect itself is a licensed pest professional’s work, reported on the TDA Form T-5 wood-destroying insect report in a transaction. We follow behind that treatment, map the compromised wood and replace back to sound material.
Putting the Floor Back After Foundation Repair
Foundation work moves a slab on purpose, and a wood floor over it either comes up beforehand or comes apart afterward. Where piers were cut through the slab, that patched concrete cures and then gets tested like any other slab before wood goes over it. We sequence behind the foundation contractor and behind the plumbing test rather than ahead of either.
Matching a Repair So It Disappears
Sourcing Species, Width and Grade
A match starts with the board itself: species, width, milling profile and grade. Salvage from a closet, a pantry or a run under an appliance is often the best source on an older floor, because it has aged in the same house. Where new material is the only route we match the profile first and manage the color afterward, since a wrong tongue-and-groove profile cannot be fixed with stain.
Blending Sheen and Color on a Site-Finished Floor
On a site-finished floor the repair is sanded and coated with everything around it, so color and sheen equalize across one continuous surface. That is the reason lace-in repairs disappear on site-finished work and rarely do on prefinished. We test stain on your actual floor in your actual light, because age, species and the previous finish all move where the color lands.
When a Transition Is the Honest Answer
Sometimes the right recommendation is to stop the run cleanly. Where the existing floor cannot be matched, where the repair area is too large to blend, or where two different assemblies meet over different subfloors, a reducer, T-mold or threshold makes the change deliberate instead of accidental. We would rather propose that than sell a blend we do not believe will read as one floor.
Our Step-by-Step Hardwood Floor Repair Process
Step 1: Find the Cause, Not Just the Damage
We meter the boards and the subfloor, sound the field for debonded areas and trace moisture to its source. A repair quoted without the cause identified is a repair that gets done twice.
Step 2: Scope the Repair Against the Alternatives
You get the repair price alongside what a refinish or a replacement would cost, in that order, so the cheapest workable option is the visible one rather than the one we had to be asked about.
Step 3: Source or Salvage the Material
Profile and species come first, color second. Salvaged board from elsewhere in the house is used wherever it exists, because it has already aged alongside the floor being repaired.
Step 4: Cut In and Fasten
Damaged sections come out, the subfloor is checked and corrected underneath, and new boards go in weave-in, dutchman or full-board as agreed. On a slab, nothing gets fastened until the slab type is established.
Step 5: Blend, Coat and Hand Over
On site-finished work the repair sands flat with the field and takes the same coats. You get the cure and occupancy schedule in writing before the first coat goes down, including when furniture and pets come back.
- 20+ Years Experience
- Dustless Containment
- Free Written Estimates